GitHub Pages
Last updated on 2026-01-05 | Edit this page
Overview
Questions
- What is GitHub Pages?
- How can I use GitHub Pages to collaborate and share my work?
Objectives
- create a GitHub Pages branch and push a file to it
- with a partner, experiment with collaborating on a GitHub Pages website
- apply the workflow between local and remote repositories to collaborate on a website
GitHub Pages
GitHub Pages is a service for publishing a website directly on GitHub from a Git repository. You add some files and folders to a repository and GitHub Pages turns it into a website. You can use HTML directly if you like, but they also provide Jekyll, a tool that can build a blog or a template-based website from a set of Markdown files.
Why GitHub Pages is awesome!
GitHub Pages allows you to version control your website. This is useful for a lot of different reasons. It allows you to keep a record of what changes you have made. It allows people to reference your website at a particular point in time and (if you make your source open) to see what it was like at that particular point in time. This is very useful for academic citations. Most people have had the experience of following up a reference to a website and either getting a 404 error or seeing something completely different. Although using versions on your site doesn’t guarantee this won’t happen, it does make it easier to manage old versions of your site.
GitHub Pages also mean that you can collaborate on a website with a lot of people without everyone having to communicate endlessly back and forwards about what changes need to be made, or have been made already. You can create ‘issues’ (things that need discussing or fixing), list things to do in the future, and allow other people visiting your website to quickly suggest, and help implement changes through pull requests.
Enable GitHub Pages
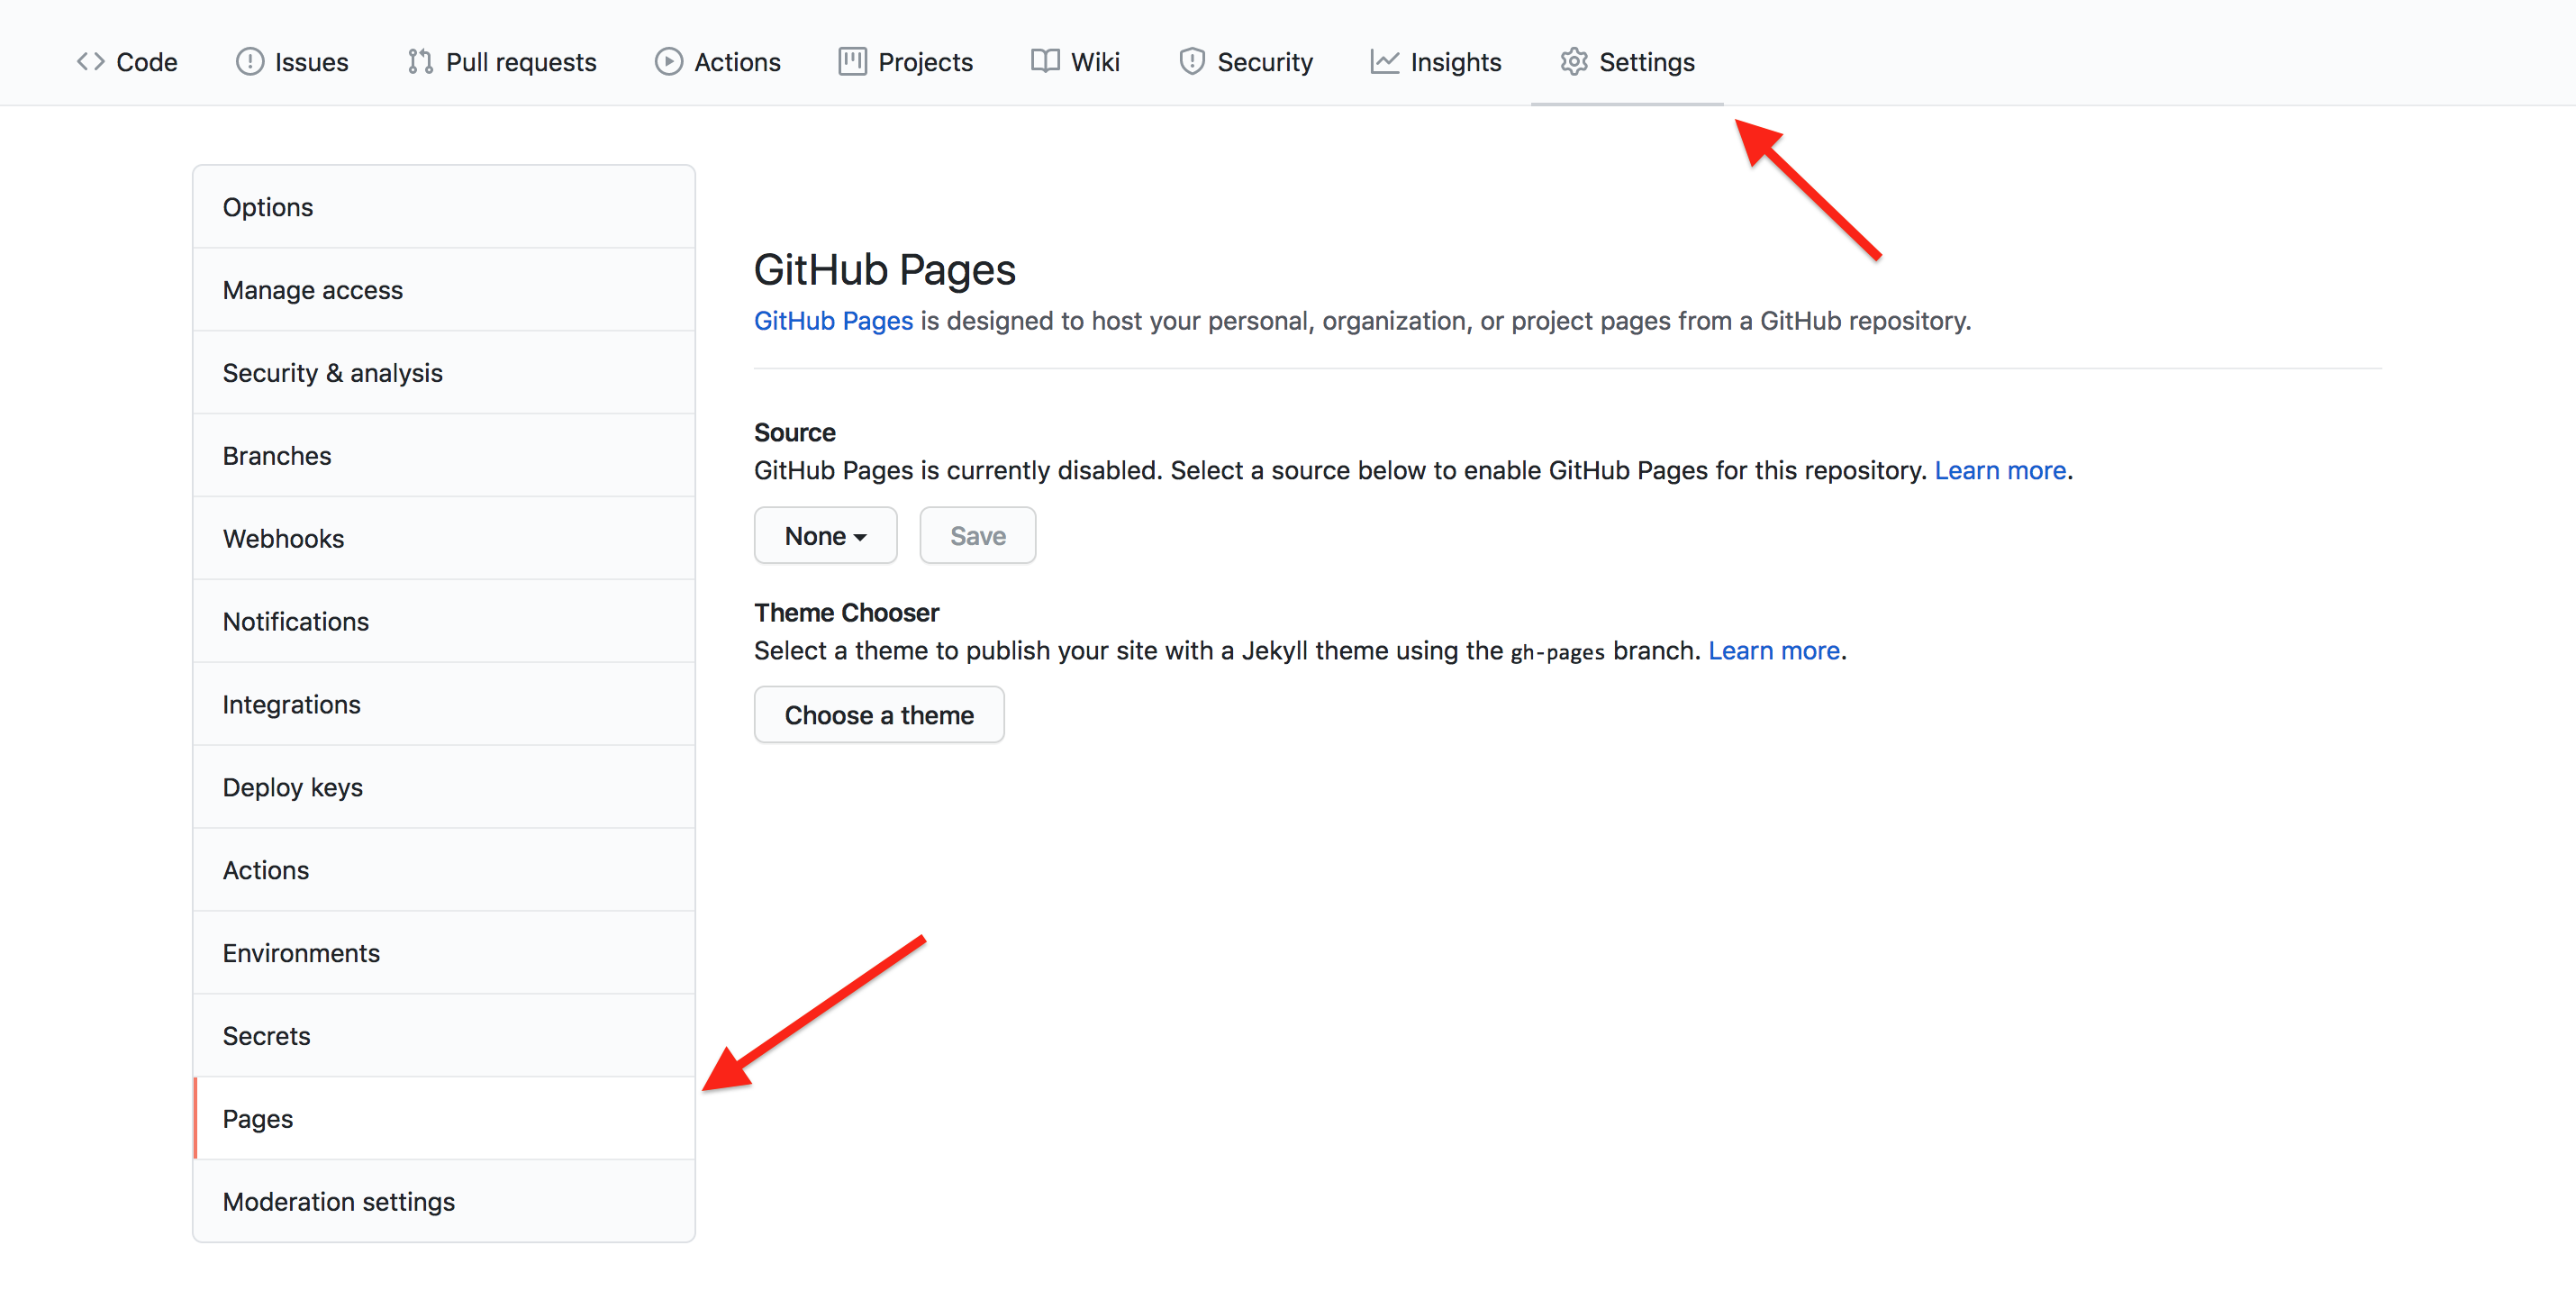
GitHub Pages is turned off by default for all new repositories, and can be turned on in the settings menu for any repository.
Let’s set up a new site by enabling GitHub Pages for our project.
Go to the Pages section of your repository’s Settings:
Source and branch
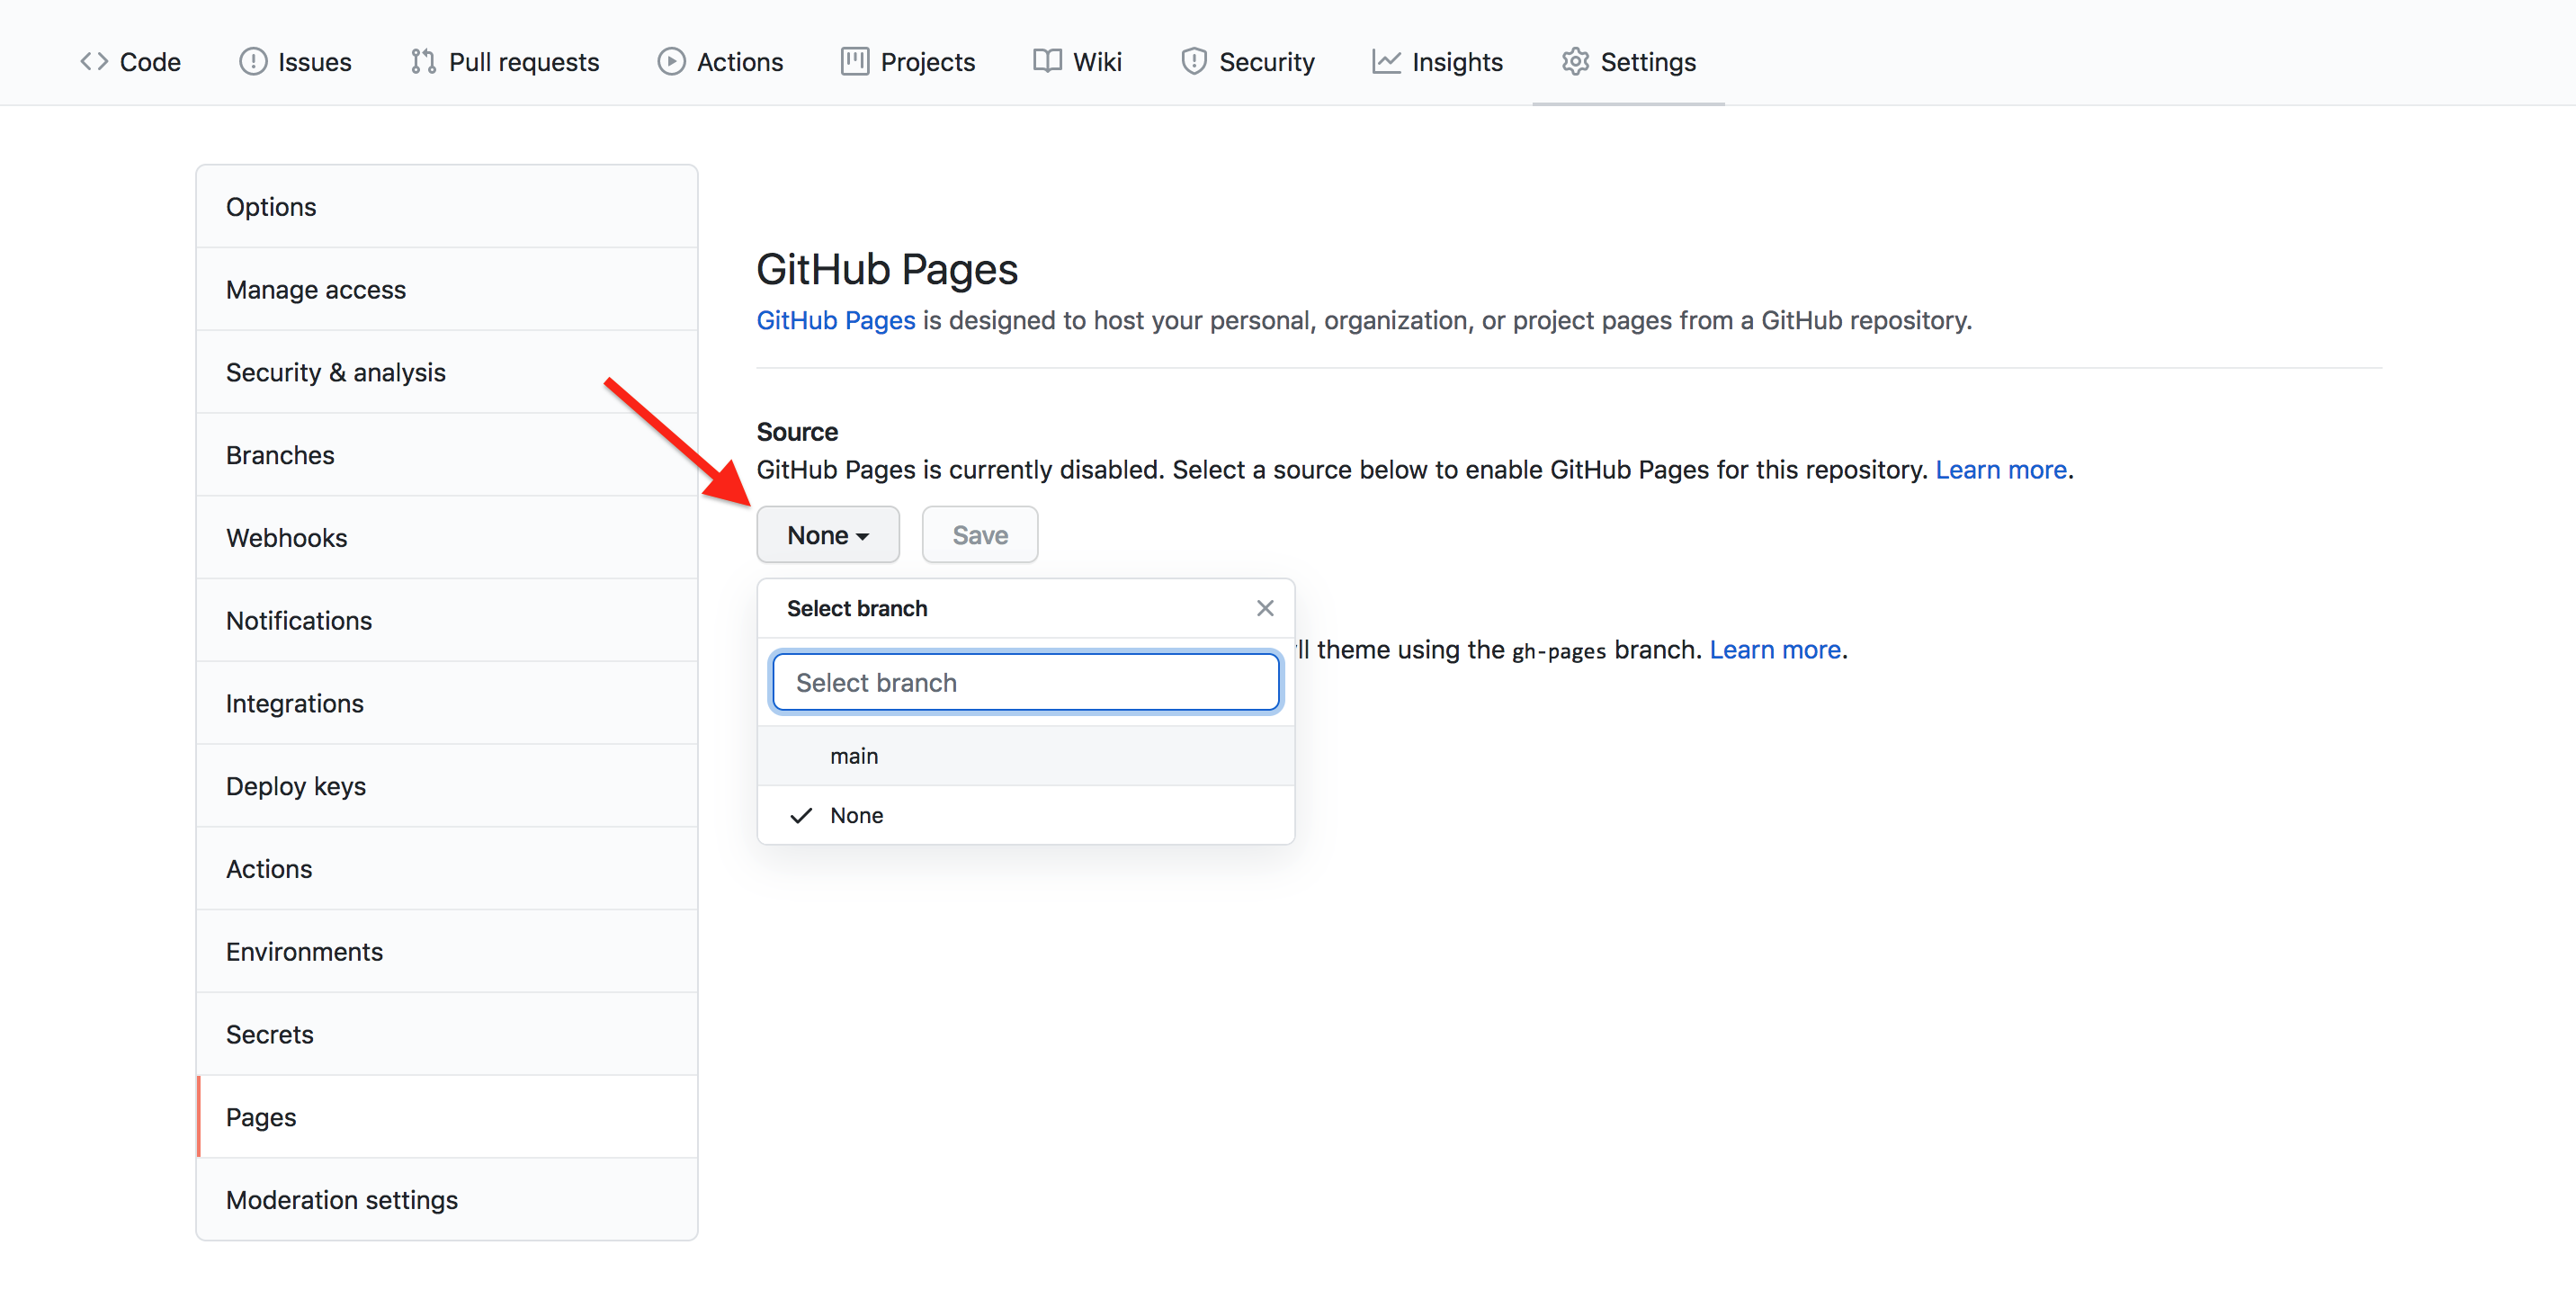
Pages gives you a choice between using the built-in Jekyll tool for building your website or providing your own tool. We’re going to use Jekyll, so leave the “Source” setting on its default value, “Deploy from a branch”.
Jekyll needs to know the branch and folder in your repository from which you want to serve your site. There are no particular restrictions here. This means we could develop a resource in one branch or folder, and maintain a website to describe it in another. But on this occasion, we’ll only use the repository for the site.
Select main as the branch, “/ (root)” as the folder, and
then save these values:
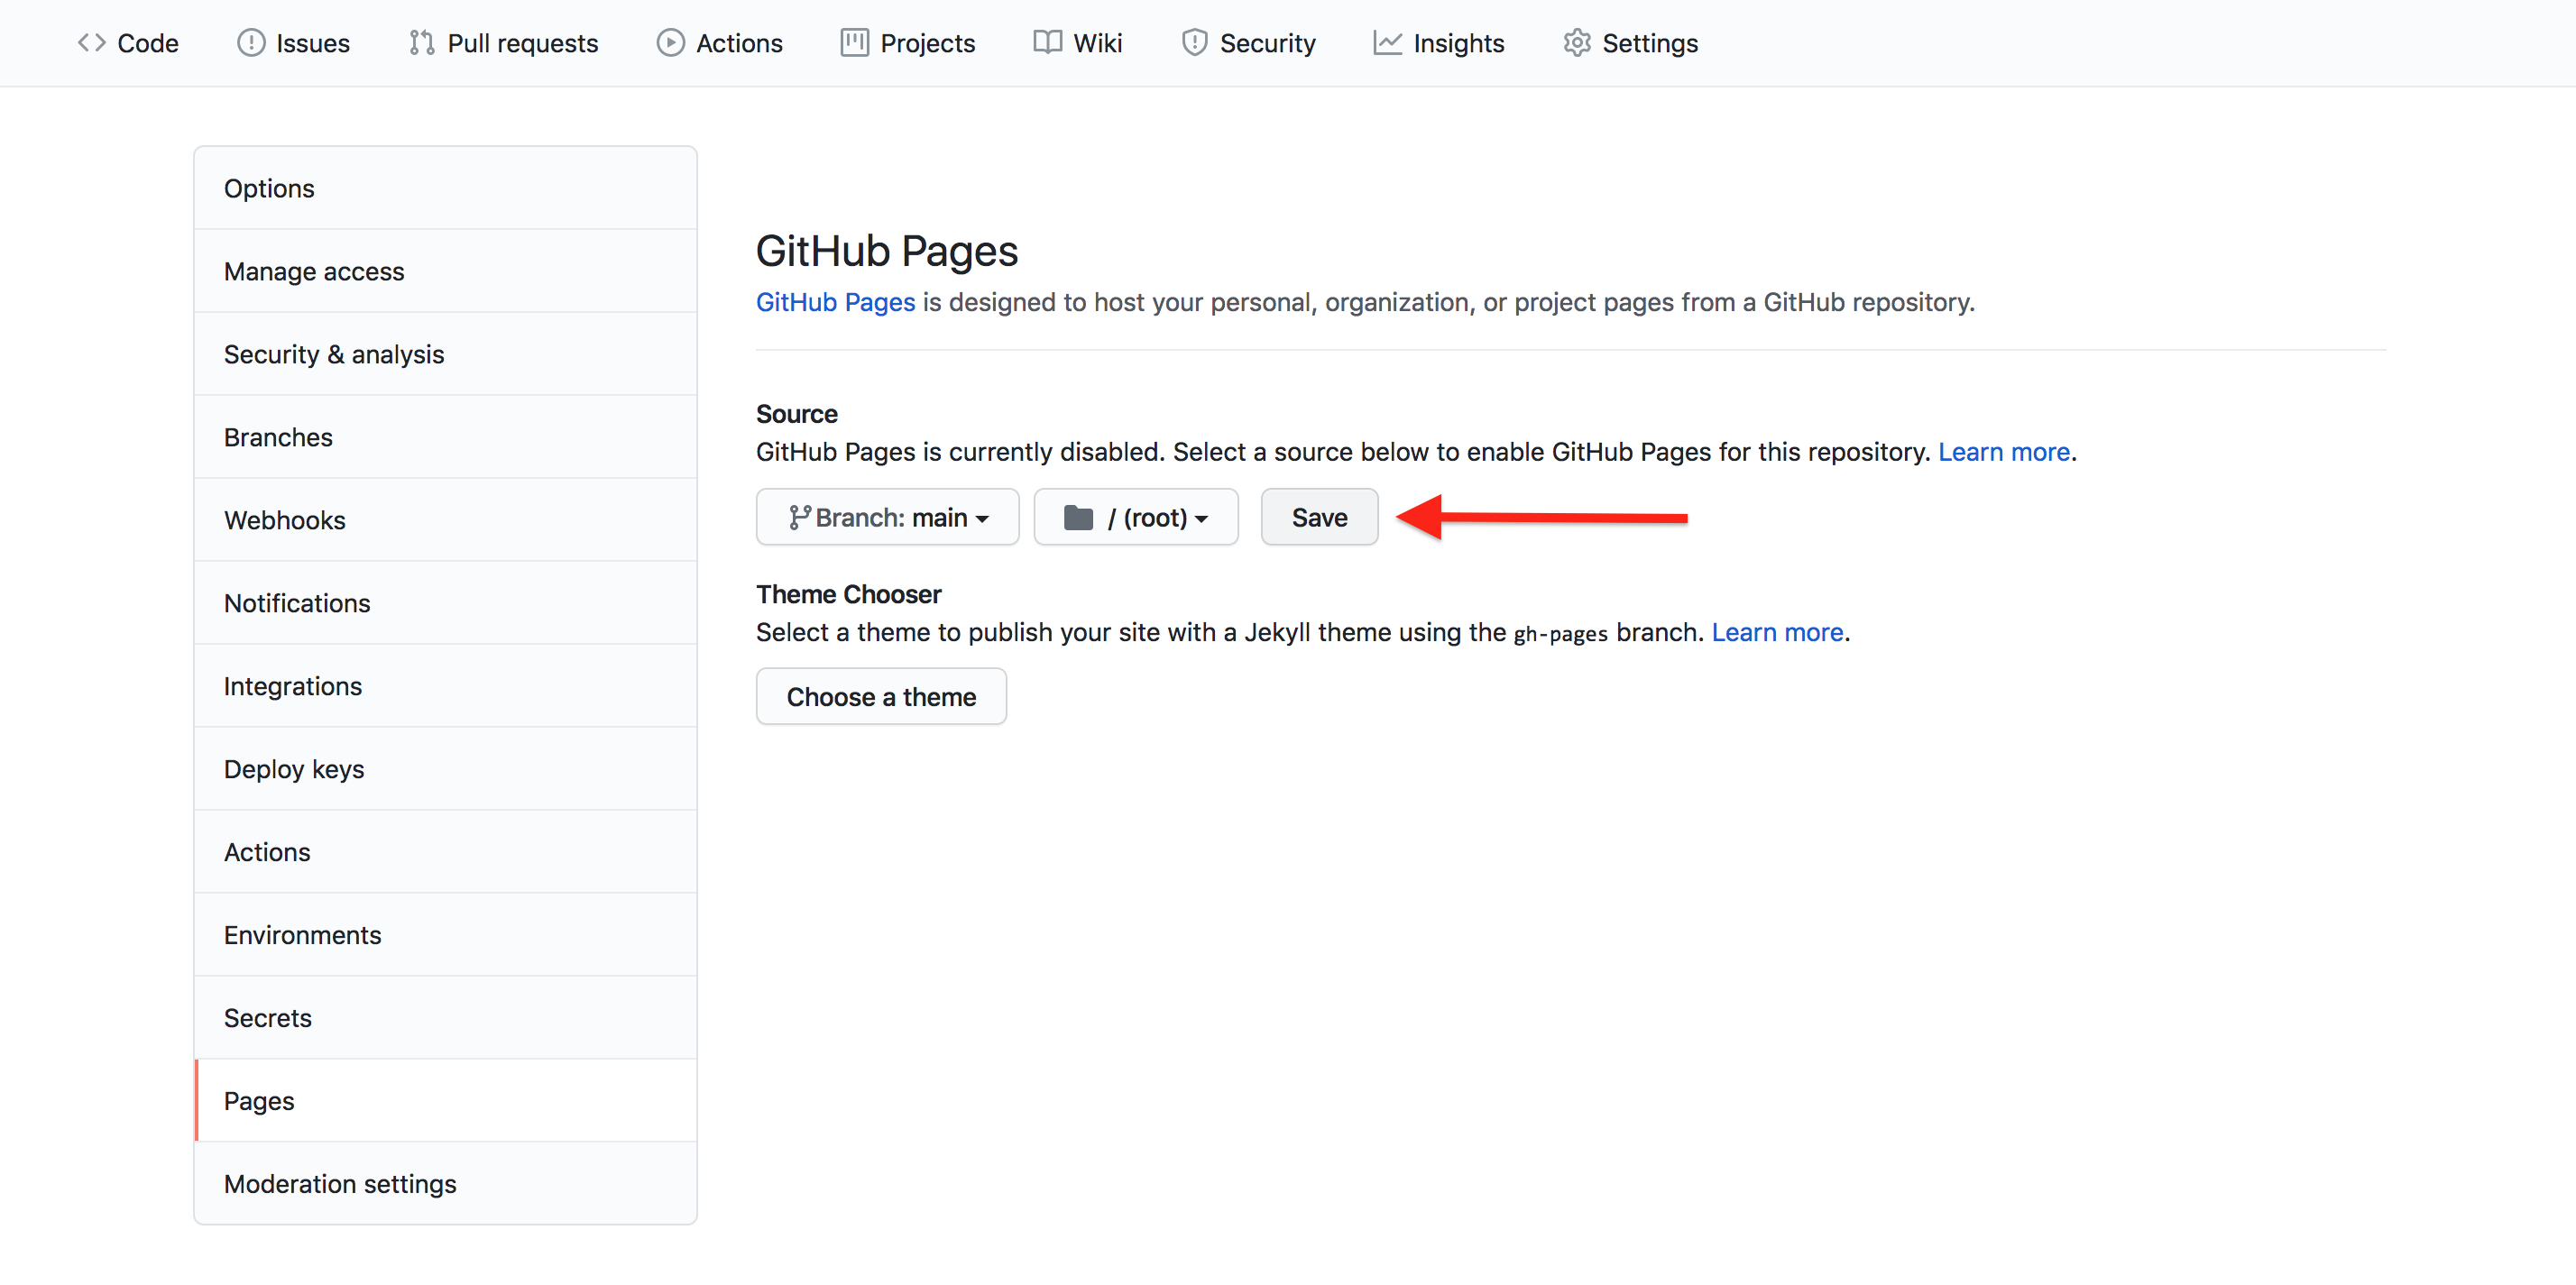
That’s all the configuration we need to get started with GitHub Pages, but there are other things you can change, such as the theme used to visually style and organize your site’s content. If you want to explore further after the lesson, see the GitHub Pages documentation.
View your site
If we now visit
https://some-librarian.github.io/hello-world/, we should
see the contents of the index.md file that created earlier. Usually it’s
available instantly, but it can take a few seconds and in the worst case
a few minutes if GitHub are very busy.
Challenge: Contributing to a page owned by someone else (slightly easier way)
To practice using Git, GitHub pages and Markdown we can contribute to a GitHub pages site. Pair up in groups of two (or more if needed) and do the exercises below together.
Go to https://github.com/some-librarian/hello-world, where “some-librarian” is the username of your exercise partner.
-
Click on “Fork” in the upper right part of the screen to create a copy of the repository on your account. Once you have a fork > of your partner’s repository, you can edit the files in your own fork directly.

-
Click the “index.md” file, then click the edit pencil icon:

Now is good chance to try some Markdown syntax. Try some of the examples at Mastering Markdown. You can preview how it will look before you commit changes.
-
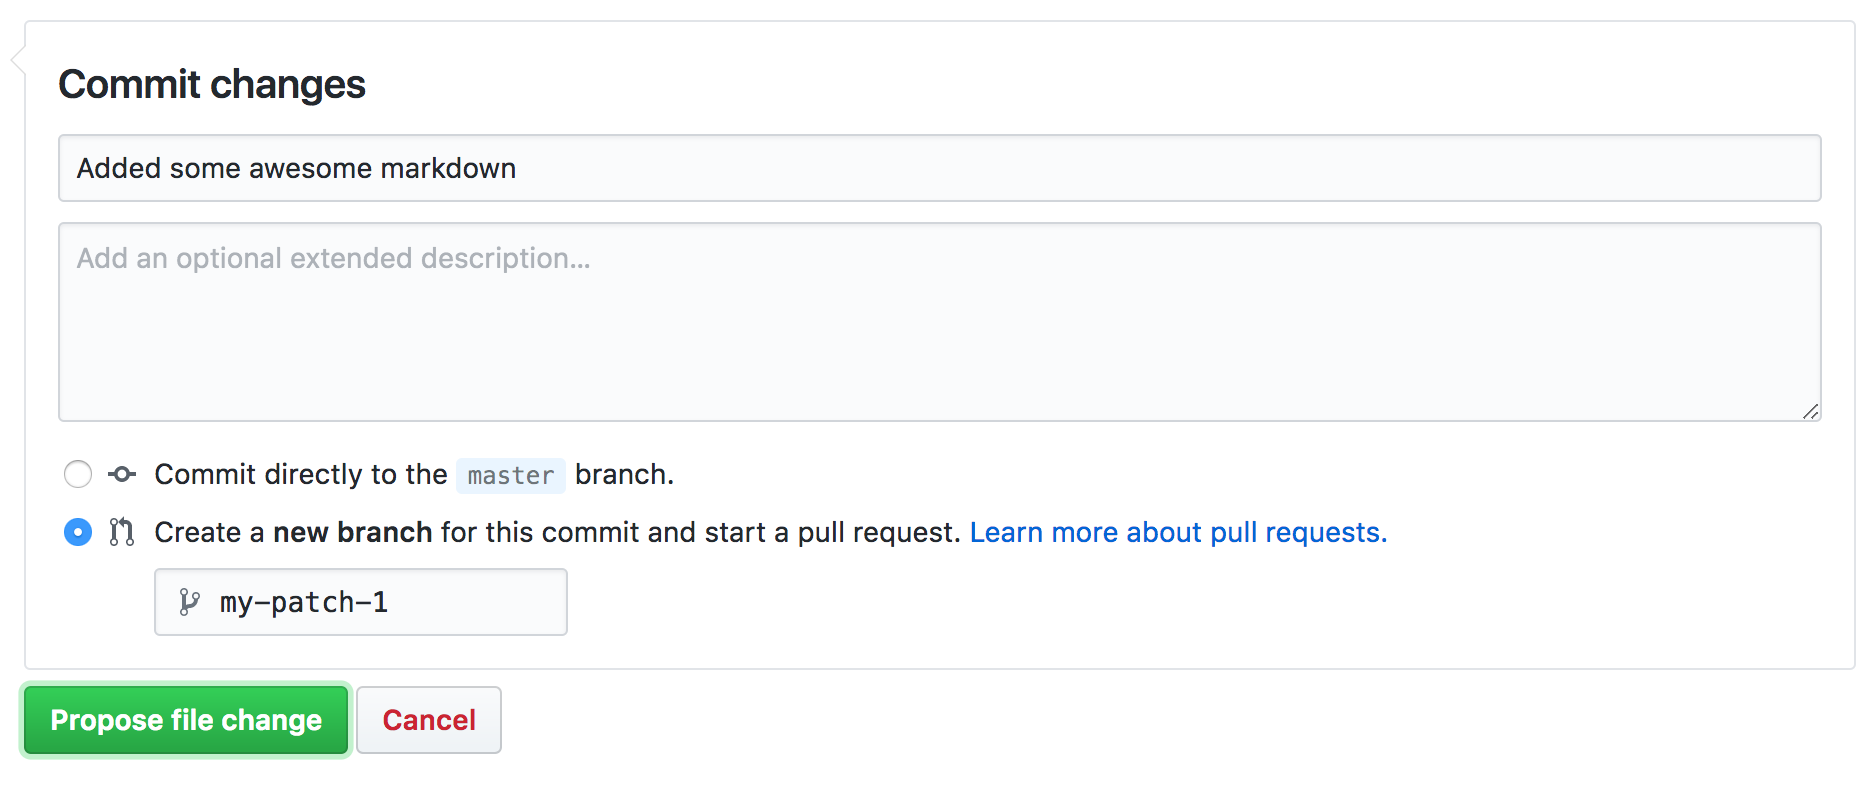
Once you are ready to commit, enter a short commit message, select “Create a new branch for this commit and start a pull request” and press “Propose changes” to avoid commiting directly to the main branch.
You can now go to the repository on your account and click “New Pull Request” button, where you can select base branches repositories, review the changes and add an additional explanation before sending the pull request (this is especially useful if you make a single pull request for multiple commits).
Your partner should now see a pull request under the “Pull requests” tab and can accept (“Merge pull request”) the changes there. Try this.
This whole process of making a fork and a pull request might seem a bit cumbersome. Try to think of why it was needed? And why it’s called “pull request”?
We made a fork and a pull request because we did not have permission to edit (or commit) the repository directly. A fork is a copy of the repository that we can edit. By making a pull request we ask the owner of the repository if they would like to accept (pull in) the changes from our fork (our copy) into their version. The owner can then review the changes and choose to accept or reject them.
You can open pull requests on any repository you find on GitHub. If you are a group of people who plan to collaborate closely, on the other hand, it’s more practical to grant everyone access to commit directly instead.
Branching and merging
Branches get their name because you can create a new one (say, “patch”) that splits off from an existing one like “main”, allowing different sets of changes to be made in parallel. Later on, Git can take the changes from “patch” and merge (copy) them into the “main” branch. In the last challenge, GitHub did all this for us in the background.

Optional challenge: Contributing to a page owned by someone else (slightly more complicated way)
Instead of making edits on the GitHub website you can ‘clone’ the fork to your local machine and work there. There are several reasons why you might want to do this:
- you need to move content from one file to another;
- you need to make changes to several files at once;
- you find it easier to work in your desktop software than in a web form.
Pair up in groups of two (or more if needed) and follow the steps below together. If you have already tackled the previous challenge, you can use the fork you created there and skip to step 3.
Go to https://github.com/some-librarian/hello-world, where “some-librarian” is the username of your exercise partner.
Click on “Fork” in the upper right part of the screen to create a copy of that repository on your account. As you already have your own
hello-worldrepository, you will need to use a different name for it, such ashello-world-1.-
In your own fork, click on the “Code” button in the upper right part of the screen and copy a link to your repository. Just like when you connected your local repository to GitHub, make sure “SSH” is selected, so the link starts with
git@github.com:.
-
Go back to your shell terminal window. If you’re in your own Git repository, use the
cdcommand to come out of it:Change the following command to use the link you just copied and run it:
The
clonecommand creates a directory on your computer containing the current state of the repository and its full version history. -
Enter the directory that Git just created:
-
Create a new branch to hold the changes you’re about to make:
Here,
switchtells Git to change the current branch, the-ctells Git you want to create a new branch, andmy-patch-1is what it will be called. Open up the
index.mdand start editing it. You could try some more examples from Mastering Markdown.-
After saving the file, add it, commit it with a short message describing the change:
-
Push your new branch up to your fork on GitHub:
-
Git will show you a message from GitHub containing a link for starting a new pull request:
OUTPUT
remote:
remote: Create a pull request for 'my-patch-1' on GitHub by visiting:
remote:      https://github.com/<your_github_username>/hello-world-1/pull/new/my-patch-1
remote:
You can visit that link in your browser, but if you go back to your fork in GitHub you will also see a button has appeared that says “Compare & pull request”. You can click on that button instead if you prefer.

The next screen lets you add a description to explain your changes to the repository owner, and change the title to make it clearer (this is especially useful if you make a single pull request for multiple commits). When you’re ready, click on the “Create pull request” button.
Your partner should now see a pull request under the “Pull requests” tab and can accept (“Merge pull request”) the changes there. Try this.
Optional challenge: Adding an HTML page
GitHub Pages is not limited to Markdown. If you know some HTML, try adding an HTML page to your repository. You could do this on the command line or directly on GitHub. The steps below are for working directly on GitHub:
-
To add a new file directly on GitHub, press the “Create new file” button.
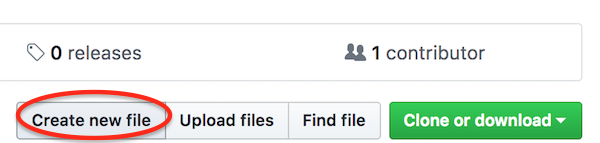
Name it ‘test.html’, add some HTML and click “Commit new file”.
Try opening
https://some-librarian.github.io/hello-world/test(replace “some-librarian” with your username). Notice that the HTML extension is not included.
- GitHub Pages offer an automated way to create a website that is version controlled and accessible for collaboration
- Collaborating on a GitHub Pages website uses the same Git/GitHub workflow you learned for collaborating via a GitHub repository